We'll revisit medicine boxes later next week...
It seems that whenever the hubby leaves town on business, I get so many more projects done than normal (love you babe!). You see, after his long hour and a half commute home, most times we just want to have dinner, "chillax," and catch each other up on our day. So with all the time in the world on my day off, I set to work.
I am dangerous with darts in hand. Dangerously bad.
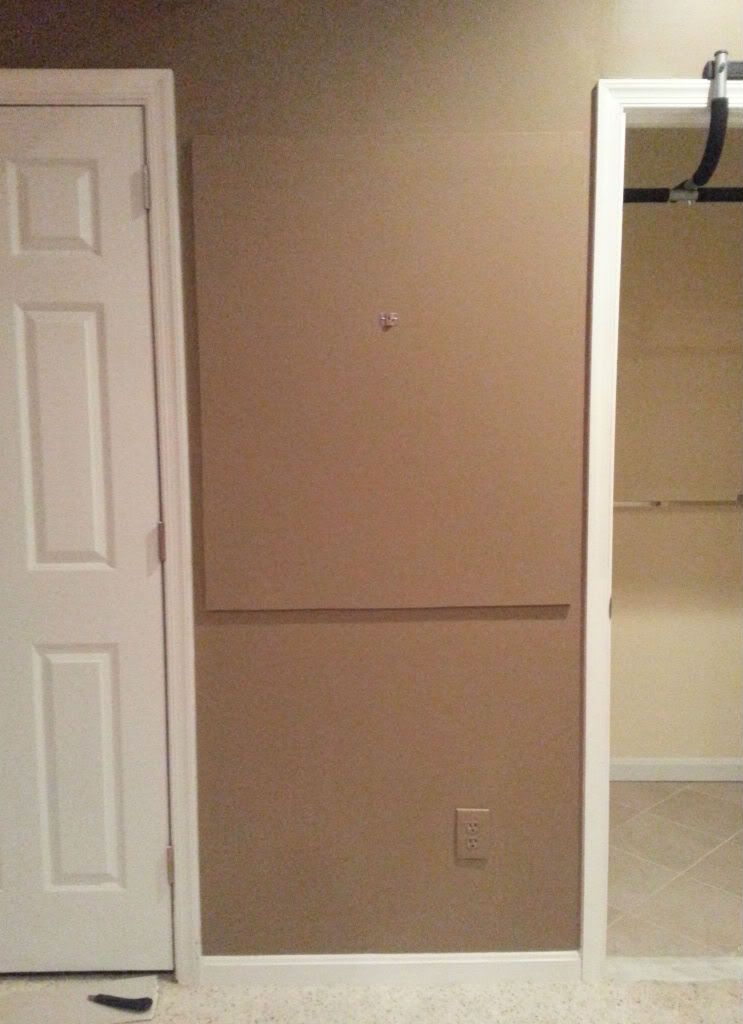
My walls fear me because they have no idea where my inconsistent aim will go. Drywall or wood-trim? All are fair game in this struggle to hit the mark. For this reason, I've been meaning to nail up an extra layer of wood or drywall so I won't keep damaging the existing surface. I have to say, it turned out pretty well too. My goal was to go to Home Depot and not spend too much for this job. We're trying to stick to a tight budget for the next few months, so every dollar counts. After all was said and done, I didn't spend a dime doing this fix! I had all the materials I needed lurking out in the garage.
When we bought our home, the former owners left behind a large sheet of drywall. For over a year it has been sitting in a garage corner. Little did I know that it was waiting there to be drug out and put to use. My first task was to learn how to cut drywall. It was really easy too. All I needed was a box cutter, tape measure, and long yard stick (broom did well in my case). Then, for the rest of the job I used nails, spackle, fine grain sander, and paint.
 |
| 1.Mark needed measurement on one side of drywall. Score drywall with boxcutter using a yard stick (broom in my case) as a guide. |
 |
| 2.Place object underneath drywall. |
 |
| 3.Gently bend along scored line. |
 |
| 4.Cut other side of paper surface. Tah dah! You just cut drywall! |
 |
| 5.Nail drywall to surface. Make sure you locate the wall studs so your nails grab onto more to carry the weight of a heavier dart board. Spackle nail holes and sides of drywall that were cut. Allow to dry. Lightly sand. |
 |
| 6. Paint. |
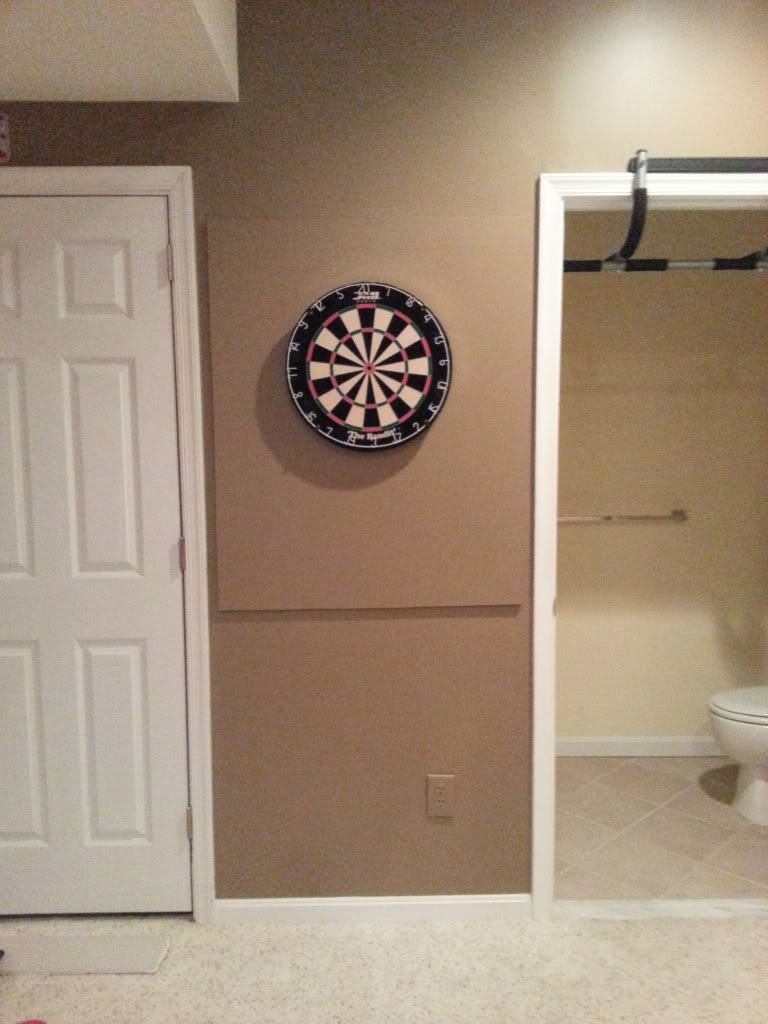 |
| 7.Hang dart board and have fun! |
Before I hung this dart board, we had a cheap board from x-mart on the wall. The darts were very light and flew everywhere. After using my fabulous Discover Rewards to purchase a nicer board, I noticed that heavier, metal darts are the way to go. They remain true to your aim so much better. If I'd have switched to the new darts earlier, I probably would have saved my walls a few holes. However, now my walls are prepared for any throw that may come their way.

No comments:
Post a Comment
What are your thoughts?